HOW TO RE-CREATE OUR OFFICE BOOK DISPLAY

DECOR
Styling Series
HOW TO RE-CREATE OUR OFFICE BOOK DISPLAY
I am so excited to be talking about our office design today. I’m particularly excited to share some of the details of this room with you because it’s a room I struggled with for a really long time. I couldn’t figure out how I wanted to decorate it.
Our office is really small space and I didn’t want to just slap up a picture here and there. I really wanted it to be thought out, inspiring and functional. Of course I have my ideal state office dreams where all the walls would be shiplap or panelled in some way but this isn’t the time for us to invest in renovations like that so I needed to find a way to make it pretty, functional and inspiring on a smaller budget.
After nearly eight months of spending time on Pinterest, I finally found the inspiration I was looking for in three places.
First, I took inspiration from being in one of our favourite stores; indigo, a store Nick and I always love spending time in. I always think books look the most enticing when displayed faced out like they are in a book store.
Second, I loved how Jake Arnold has design books displayed in his office on built-ins and new then that I wanted to recreate that with the books that inspire Nick and I on a day to day basis.
Lastly, I loved the bright, colourful and relaxed feel of Margot Robbie’s production company ‘Lucky Chap’s office space’ which I found on AD’s YouTube channel and I finally came up with an idea that I loved and was super excited about it.
Once we found the Inspiration and decided it was what we wanted to do, the rest is quite simple.
What you’re going to need
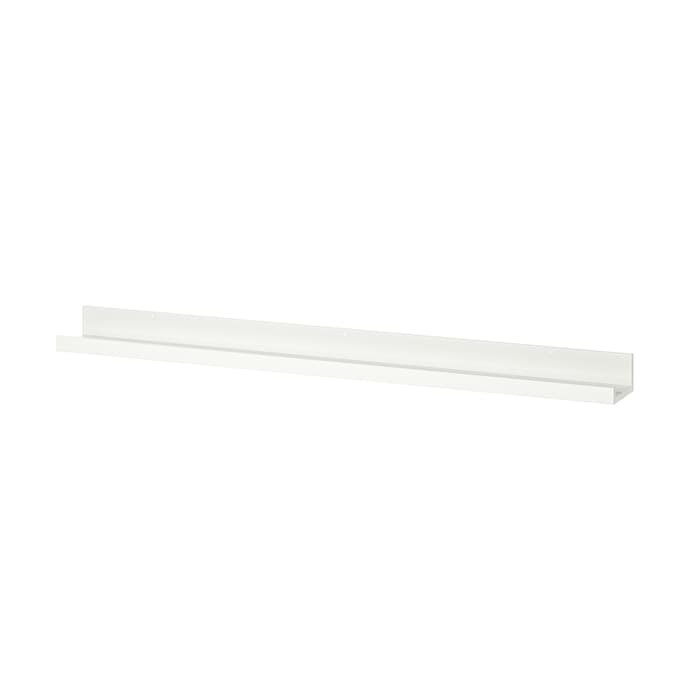
2 x Mosslanda picture ledges from ikea (115cm)
A selection of your favourite books display worth/inspiring books.
I leaned toward books that inspire me and that also work with the colour palette of our home. The best part of this is that you can easily rotate which books you want on display at that particular time.
Black flat head screws, they don’t come with the shelf. We got ours at Home Depot.
Before hanging your shelves
Really consider the tallest item you may want to display on them and plan for there to be enough space for it. In my case, I wanted to have the option to display picture frames as large as 13” tall so we left 21.5” between the shelves from bottom to bottom.


